The installation of Linear Guideways is a complex and meticulous process that demands careful preparation and strict adherence to the installation steps. By following the correct installation procedures and precautions, the installation quality and performance of linear guides can be ensured. ?
1. Avoid Impact and Collision
During the installation process, do not strike or collide with the Linear Guide rails to prevent damage to their surface and internal structure. ?
2. Pay Attention to the Flatness of the Installation Surface
?If the installation surface is uneven, it will cause uneven stress on the guide rails, affecting their performance and lifespan. Therefore, it is essential to ensure that the surface is flat before installation.
?
3. Control the tightening torque of installation screws
Excessive tightening force may cause the guide rails to deform, while insufficient tightening force may result in loose linear slides. Thus, during installation, use a torque wrench to tighten the screws according to the specified tightening force.
?
4. Maintain Lubrication of the Linear Guide Rails
Before installation, apply an appropriate amount of lubricant to the surface of the linear rails to reduce friction and wear. During operation, regularly check the lubrication condition of the guide rails and replenish the lubricant promptly.
?
5. Prevent Foreign Objects from Entering
During the installation and use of linear motion guides, prevent dust, oil, and other impurities from entering the interior of the guide rails. Install protective devices on the surface of the guide rails, and regularly inspect and replace any damaged protective devices promptly.
?
6. Conduct Precision Inspection
After installation, measuring tools are used to check the precision of the linear guide rails. Ensure that their parallelism, straightness, and motion accuracy meet the design requirements.?
?
7. Follow the Installation Sequence
During the installation process, pay attention to following the specified installation sequence. First, fix the guide rails, and then install the sliders and side pressure plates.?
?
8. Document the Installation Process
During the installation process, record the key steps and parameters. This will help quickly identify problems during subsequent maintenance and take corresponding measures for repair.
?
9. Identify the Reference and Moving Rails
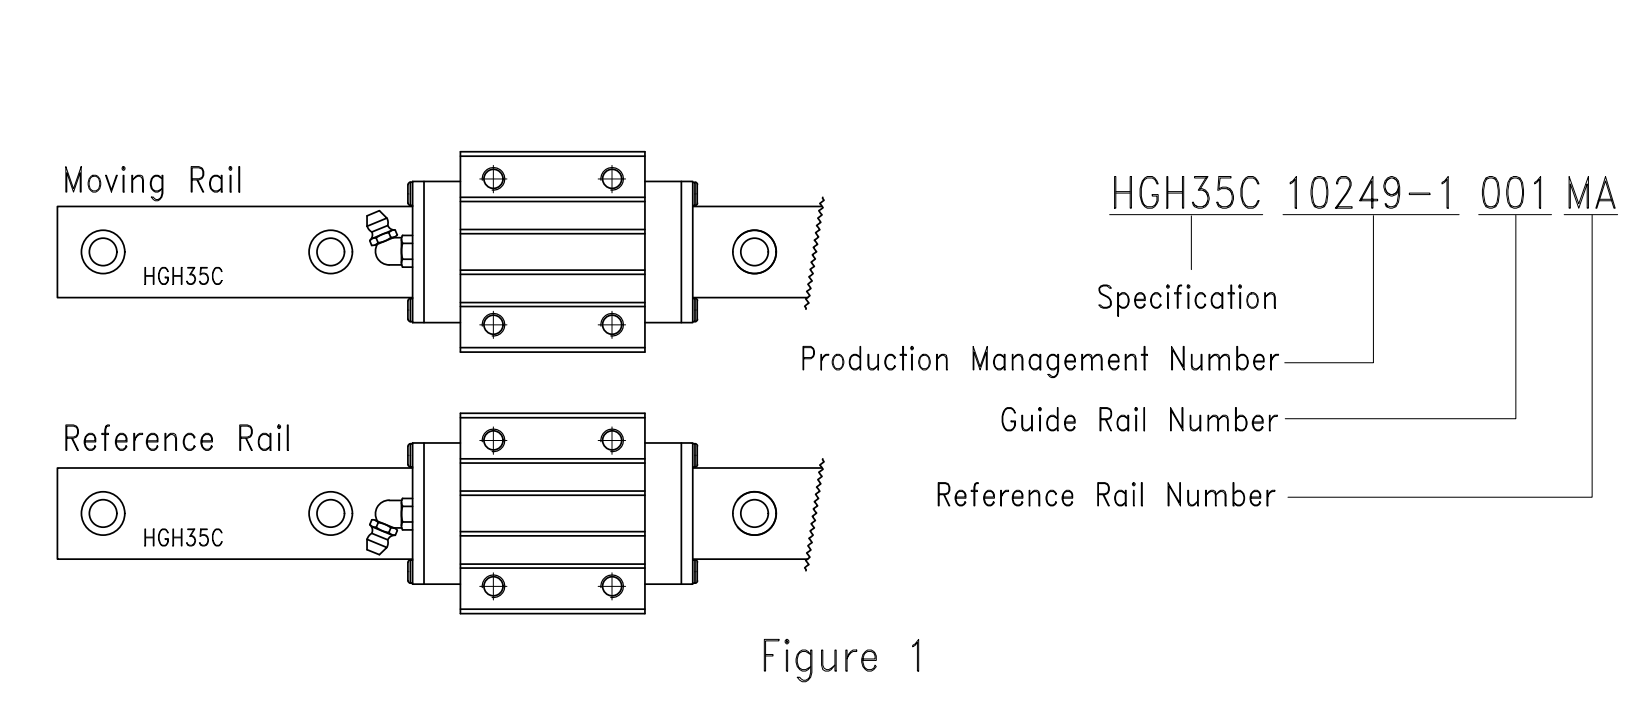
When non-interchangeable linear guide rails are used in pairs, note the differences between the reference and driven rails. The side reference surface of the reference rail has higher precision than that of the driven rail and can be used as the mounting reference surface of the machine bed. There is an "MA" mark engraved on the reference rail. Moreover, when two rails are used in pairs, the reference rail is numbered with an odd number, and the driven rail is numbered with an even number. During installation, follow the instructions of the markings and install them in sequence (e.g., 001 is paired with 002, 003 is paired with 004...). For multi-rail installations, please follow the same pattern.
?
?
10. Confirm the Installation Reference Surface
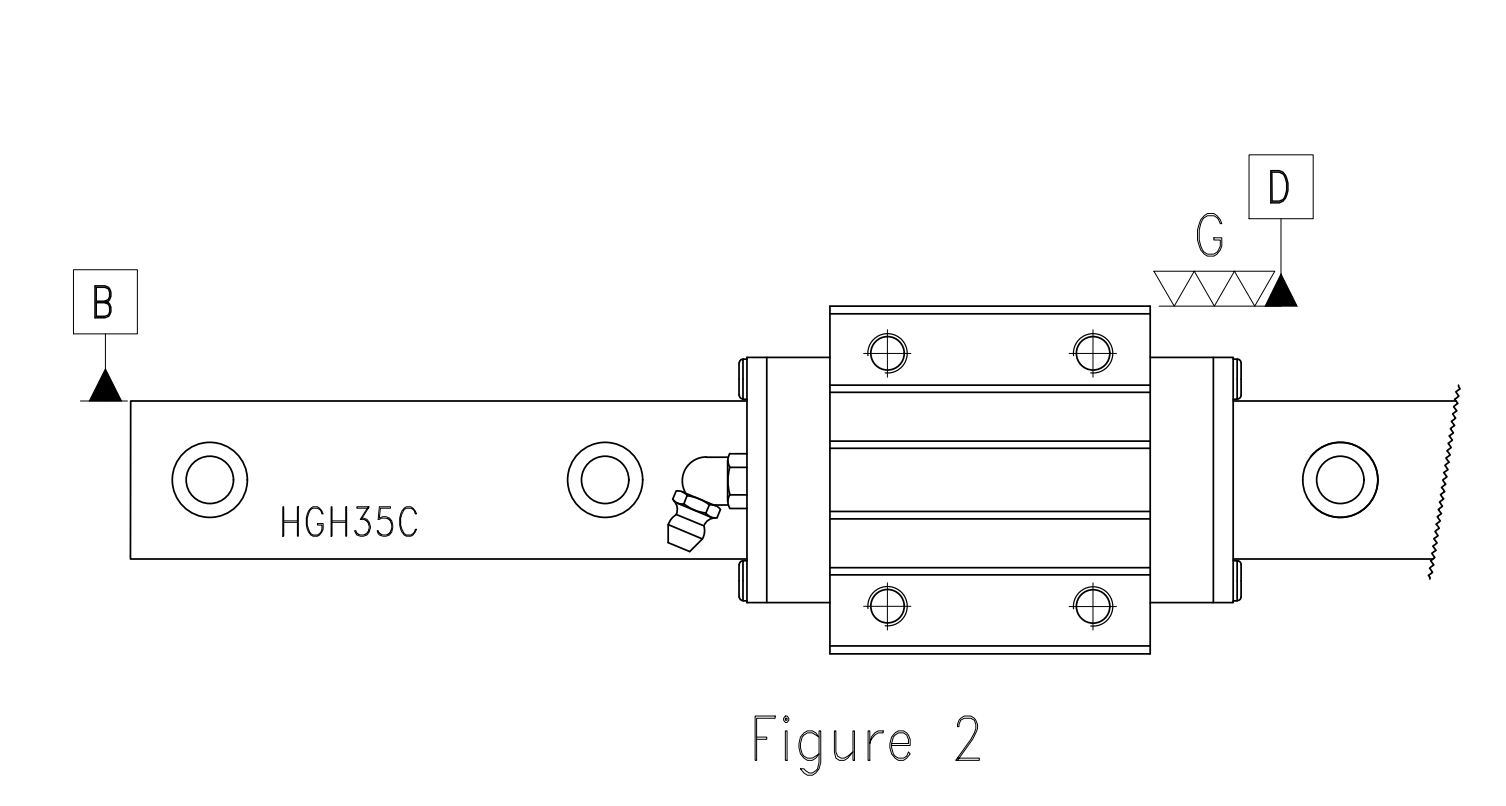
The reference surface of the guide rail is the side plane indicated by the arrow next to the "lx" mark, and the reference surface side of the slider is a polished and smooth surface.
?
?
Notice:?
1. Do not remove the slider unless necessary when installing the Linear Guide Rail. If it is necessary to remove or install the slider on the linear guide rail, use the provided rail clamp. ?
2. During the use of the linear guide rails, regularly inspect and maintain the lubrication and protective devices, which can extend the lifespan of the guide rails and improve the stability and precision of the equipment.


